Create a Blog by Github Pages
I want to show my information to others by the blog, but I don't want to spend a lot of effort creating it from scratch by HTML.
Demand
- I have been taking notes by markdown, so it is necessary for this tool to convert markdown to HTML .
- To achieve this function, there are a lot of tools, such as sitdown, Markdown2Html, typora, etc.
-
I don't want to organize these files by myself, it is handy for me to automatically organize these files.
- jekyll, hugo, hexo, gitbook, mdbook, etc.
-
It is very troublesome to set up the toolchain and configure the environment.
According to the above requirements, I chose mkdocs to build the blog, it is integrated in Python and requires very little learning cost. In the next few chapters, I'll show you how to build a blog from scratch by Github Pages.
Tutorials
Install Python
- It is easy for you to install Python, if you have some problem, please follow the tutorials on the Python website.
- In addition, please install
piporpip3tool in you computer, because it is not standard software on some Linux distributions. - Please install Python with a version number greater than 3.8.2, the minimum version requirement for
mkdocsis 3.8.2.
Install mkdocs
-
Please install
mkdocsandmaterial for mkdocswith the following codepip install mkdocs pip install mkdocs-material
Clone the Repository
- Clone the project from my Github Pages' repository
- You can also download it from here
Configure Your Personal Setting
- Edit
mkdocs.ymlfile anddocsdictionary to put your own content. - There is a dictionary named by
mkdocs, please do NOT delete it, it will prompt some errors if you delete it.
Publish
- Now, you can publish your blog to Github, use
gitorVscodeto creat and push your repository to<your_username>.github.io. -
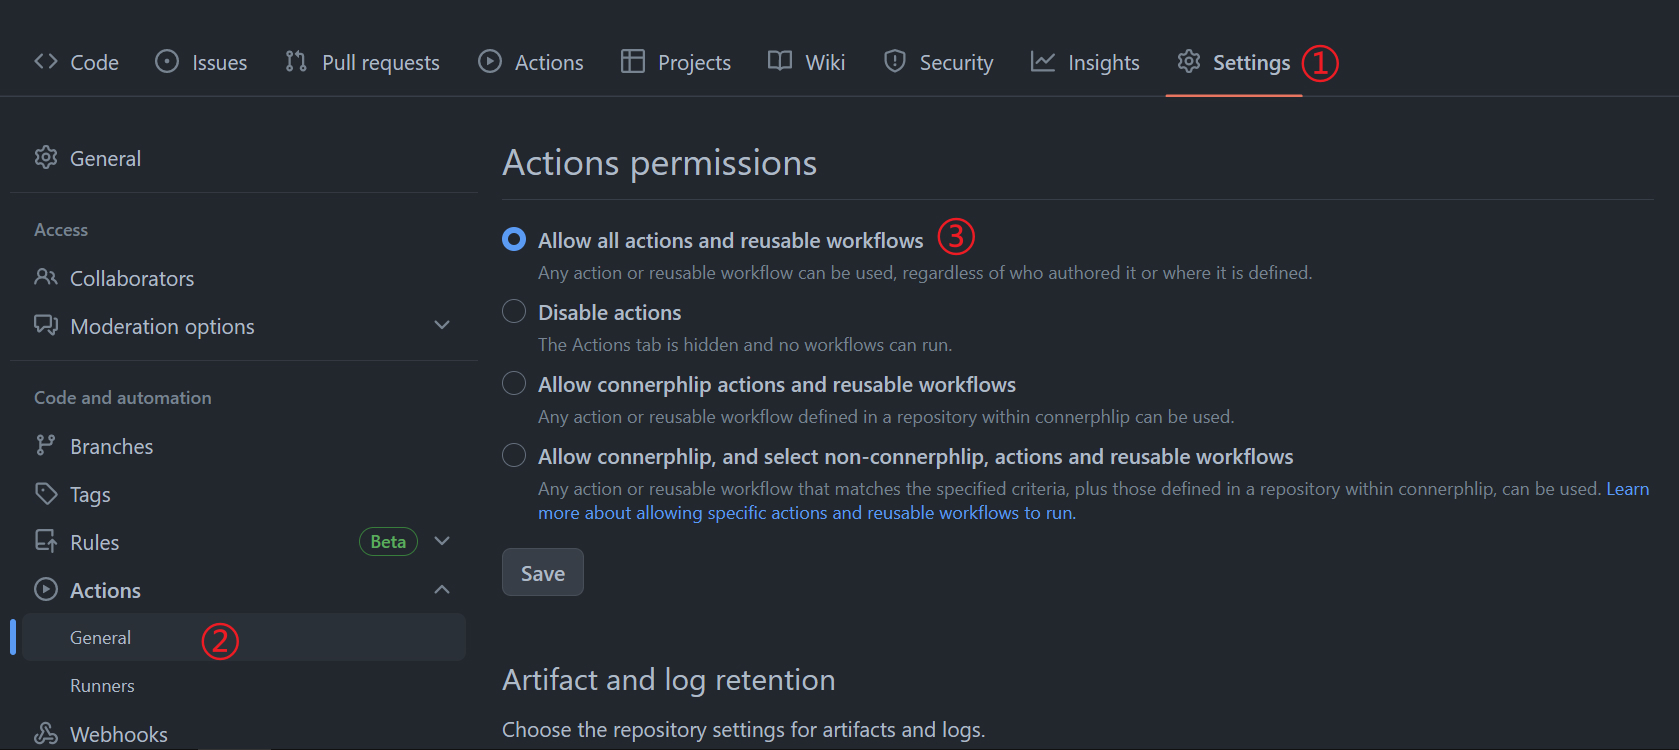
Change the Github Pages
Actions permissionsby the following step. -
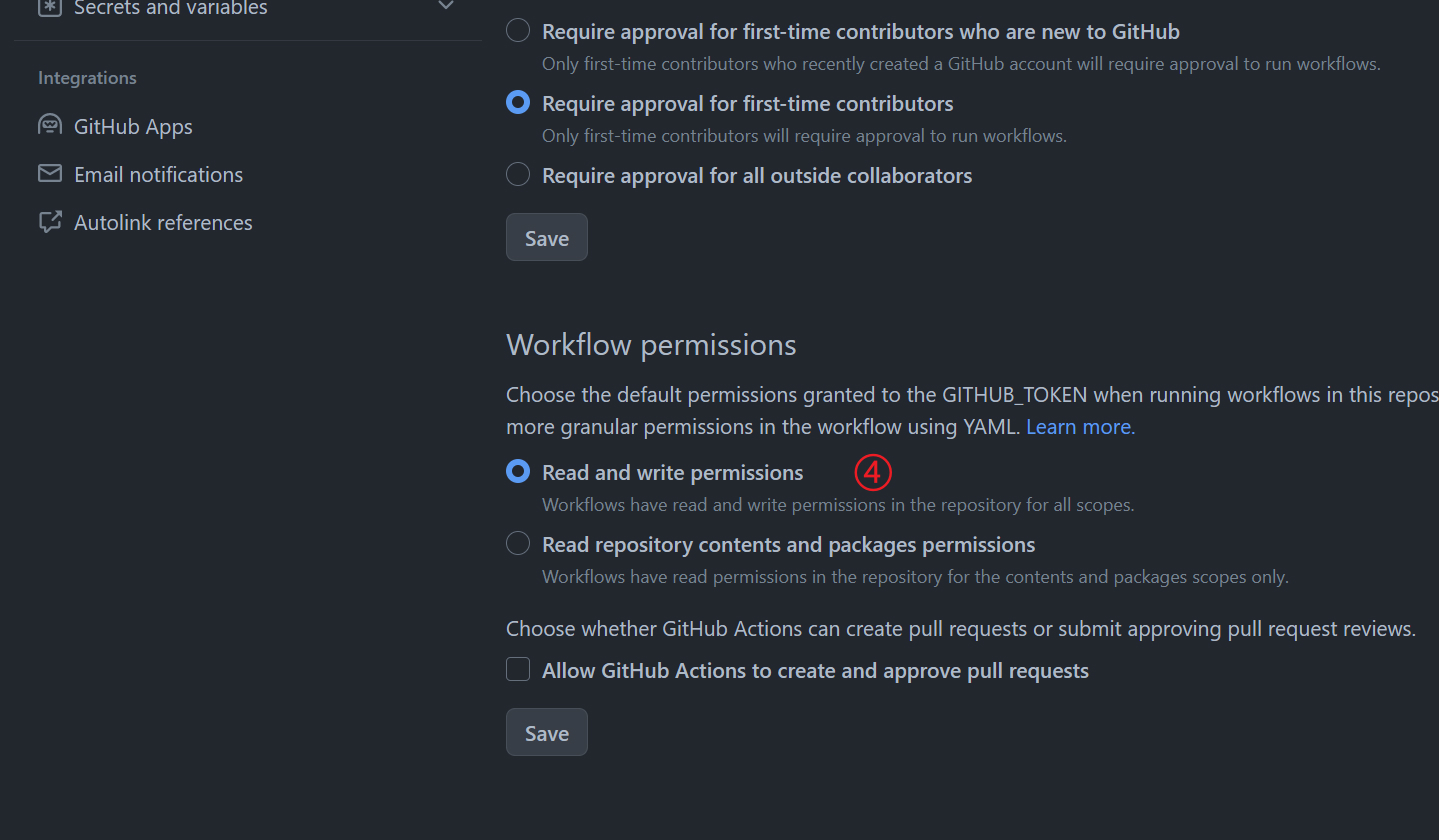
Change the Github Pages
Workflow permissionsby the following step.
Finish
- You can view you website at your Github Pages if it finished the build and deploy.